
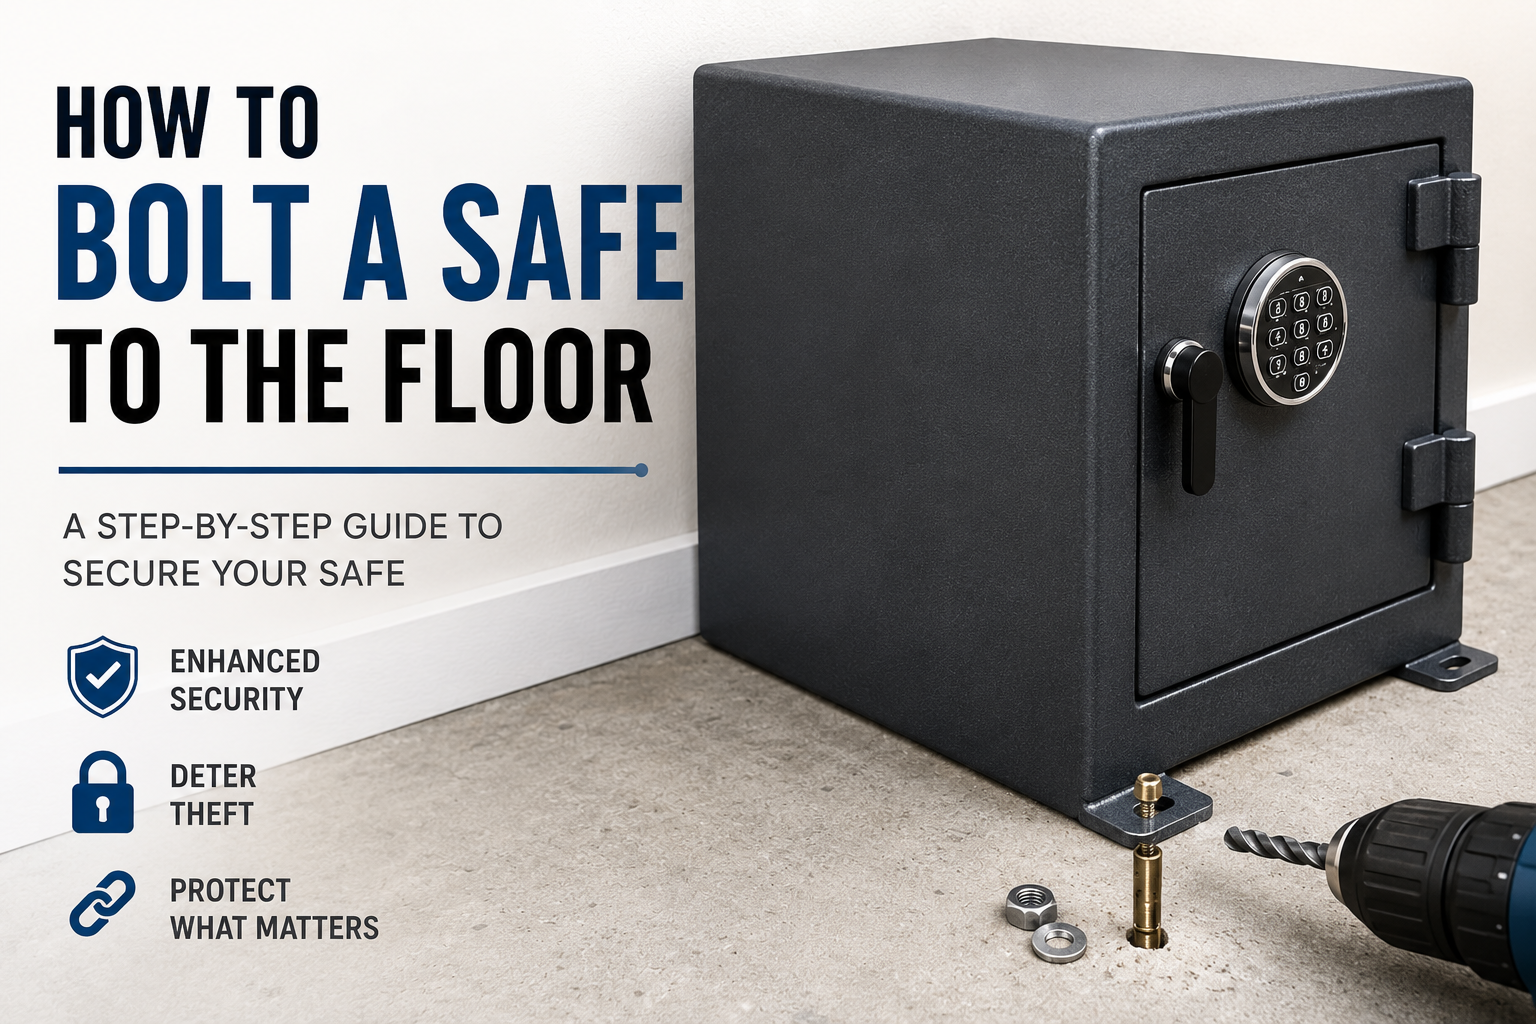
Buying a safe is a smart move. But an unbolted safe sitting on your floor? That’s not as safe as you think.
An average-sized home safe, the kind that holds documents, cash, and a handgun, weighs between 30 and 80 pounds. A determined burglar can carry that out to their car in under a minute. And once they have time and privacy, they can crack it at their leisure.
Bolting your safe to the floor eliminates that risk. It’s one of the most effective anti-theft measures you can take, and it takes less than an hour to do yourself.
Here’s exactly how to do it.
To bolt a safe to the floor, locate the pre-drilled anchor holes inside your safe, mark their positions on the floor, drill into the floor (wood or concrete), and secure the safe with the appropriate anchor bolts. The entire process takes 30–60 minutes with basic tools.
Why Bolting Your Safe Matters More Than You Think
Most burglaries happen fast, typically under 10 minutes. Thieves don’t have time to crack a properly secured safe on-site. So their strategy is often to take the whole safe and work on it somewhere else.
A 60-pound safe is easy for two people to carry. Even a 100-pound safe can be tilted onto a hand truck and wheeled out. If your safe isn’t anchored, the physical weight is almost meaningless as a security feature.
Bolting it down changes the equation completely. Even with tools, cutting or pulling anchor bolts out of concrete takes more time than any burglar wants to spend, especially given the risk of being caught.
Most quality safes come with pre-drilled anchor holes in the floor for exactly this reason. Check yours they’re usually in the corners of the interior floor.
What You’ll Need
The tools vary slightly depending on your floor type. Here’s a general list:
For wood subfloor:
- Power drill
- Wood drill bit (sized to your anchor bolts)
- Lag bolts or carriage bolts (usually 3/8 inch or 1/2 inch diameter)
- Socket wrench or ratchet
- Pencil or marker
- Tape measure
For a concrete floor:
- Hammer drill (a regular drill won’t work on concrete)
- Masonry drill bit sized to your concrete anchors
- Concrete anchor bolts (wedge anchors or sleeve anchors work best)
- Socket wrench
- Vacuum or compressed air to clear dust from holes
- Safety glasses concrete dust is no joke
For tiling over concrete:
- Same as concrete, plus
- Tile drill bit (to get through the tile without cracking it)
- Painter’s tape (to help keep the drill from slipping on tile)
If you don’t own a hammer drill, most hardware stores rent them by the day for around $30–40. It’s worth trying to drill concrete with a regular drill will damage the bit and give you nothing.
Step 1: Find the anchor holes inside your safe
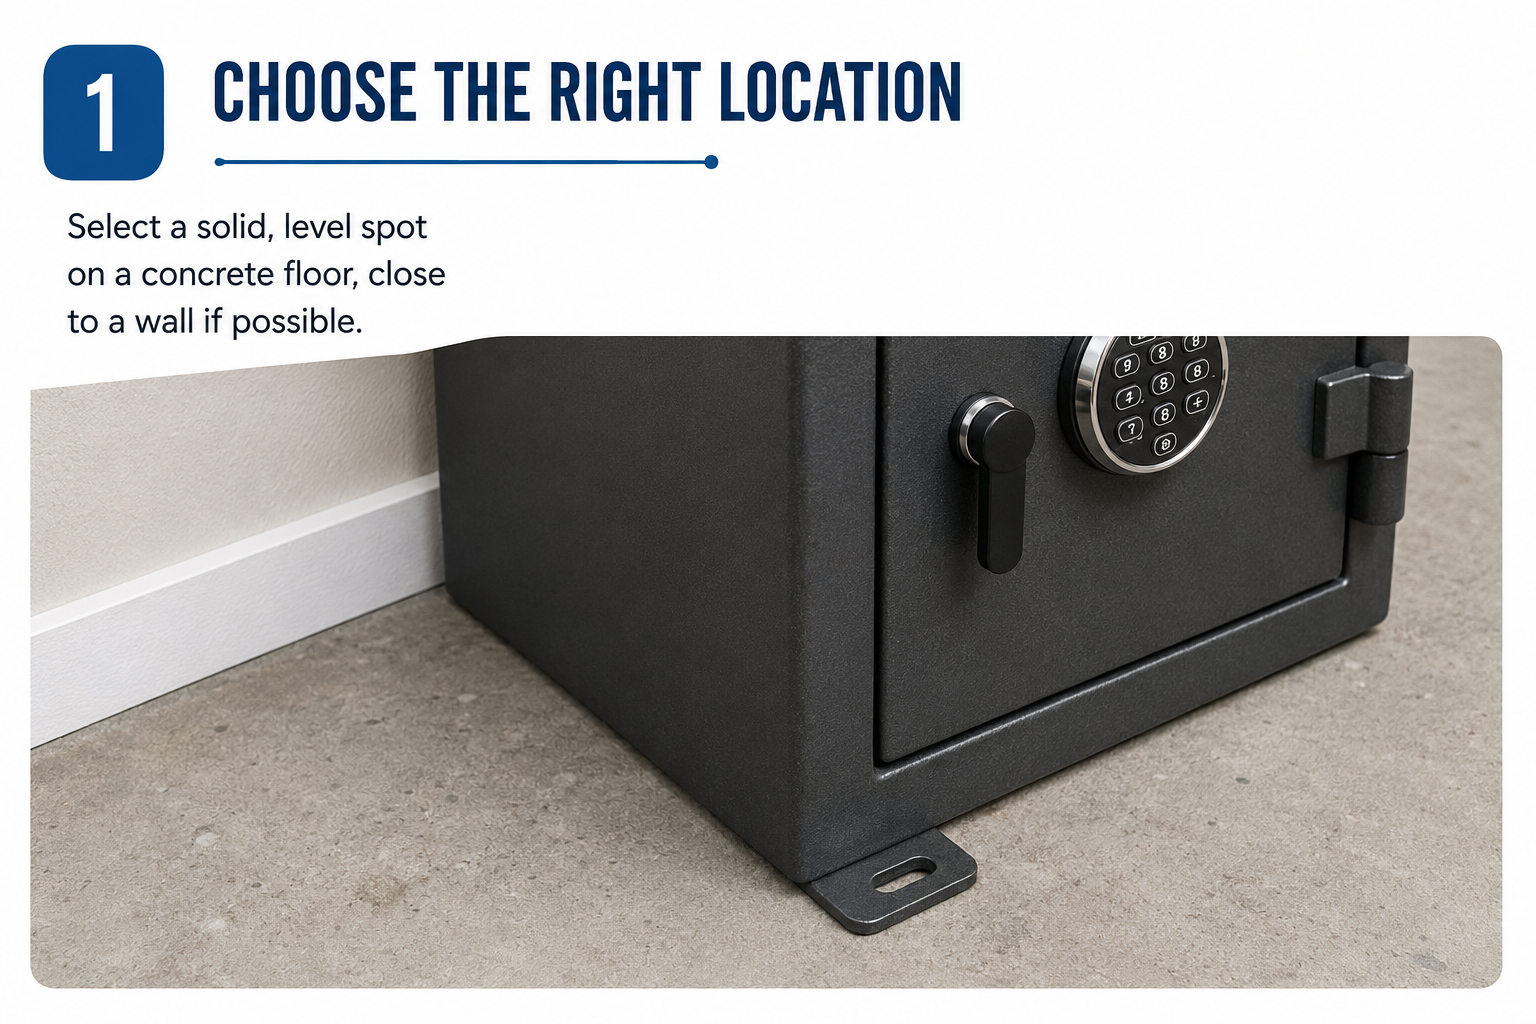
Open your safe and look at the interior floor. Most safes have two or four pre-drilled holes, usually 3/8 inch to 1/2 inch in diameter. They might be in the corners, along the back edge, or centered near the front.
If your safe didn’t come with anchor holes, check if the manufacturer offers a bolt-down kit. Some budget safes don’t include this feature, but it’s also not a deal breaker. A qualified welder can add anchor points, or you can secure the safe to a wall instead.
Step 2: Choose Your Location Carefully
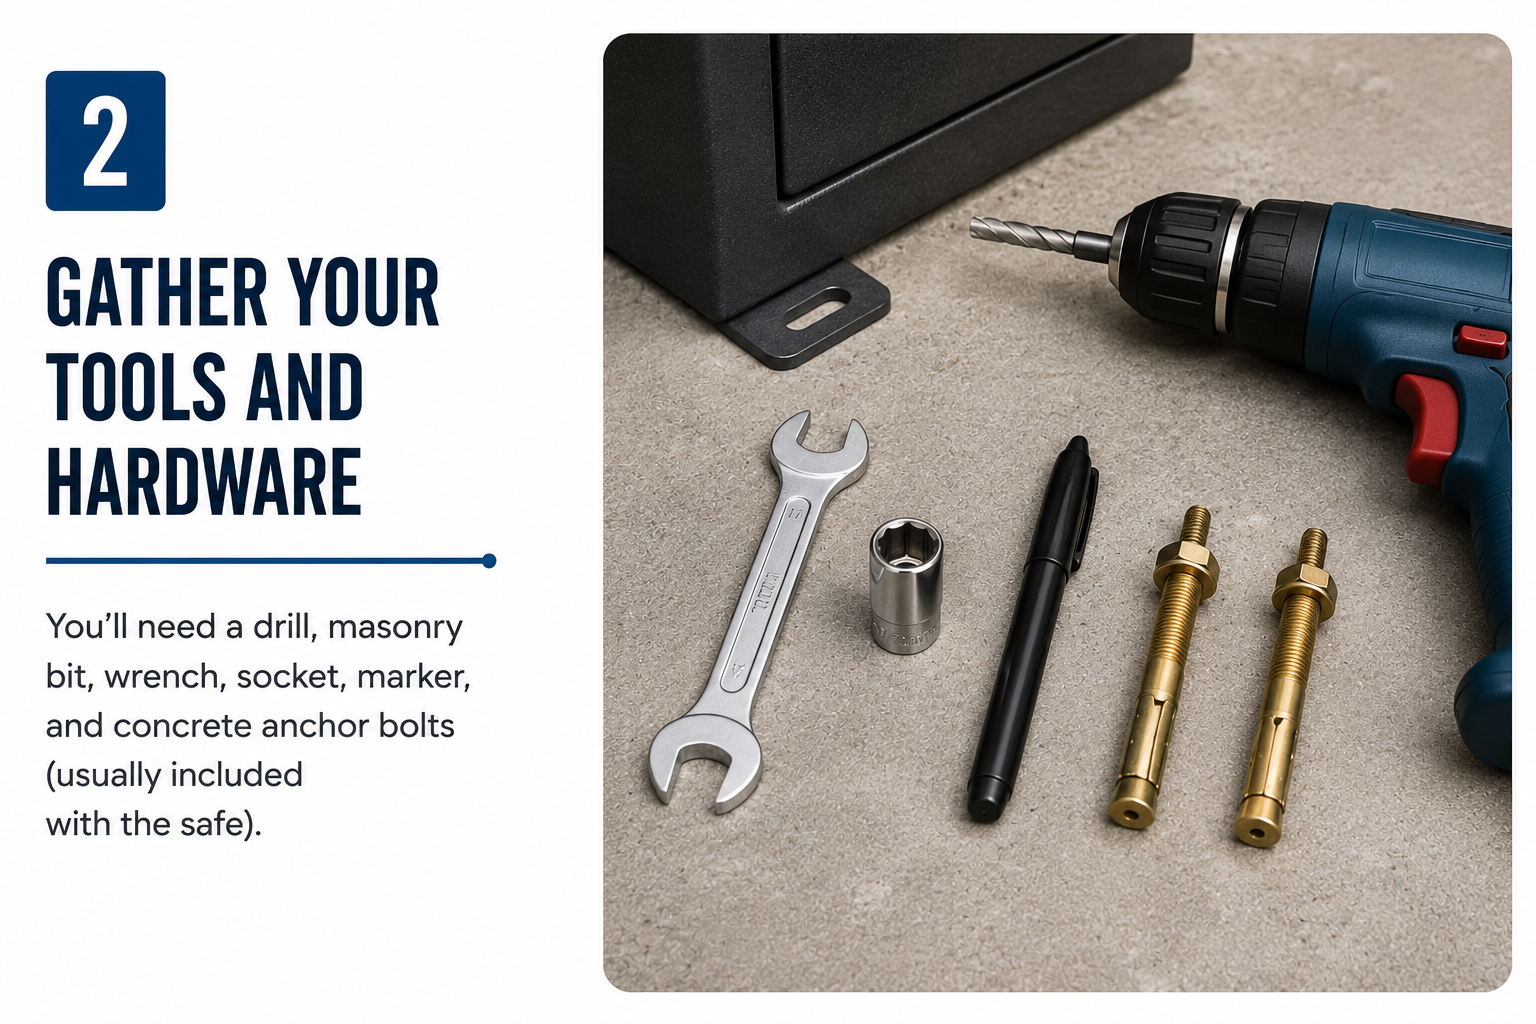
Before you drill anything, think about where you’re placing the safe.
Closets are a popular choice; they hide the safe from view, and a closet floor is usually accessible. Bedroom closets work well. Master bedroom corners work too.
Avoid placing the safe where water damage is a risk — near a water heater, in a garage prone to flooding, or directly on a concrete basement floor without a moisture barrier underneath.
Also think about weight distribution. Concrete floors can handle anything. Older wood floors in older homes can sometimes have soft spots position the safe over floor joists if possible for maximum support. You can usually find the joists by knocking on the floor and listening for the solid thud versus the hollow sound.
Step 3: Mark Your Hole Locations
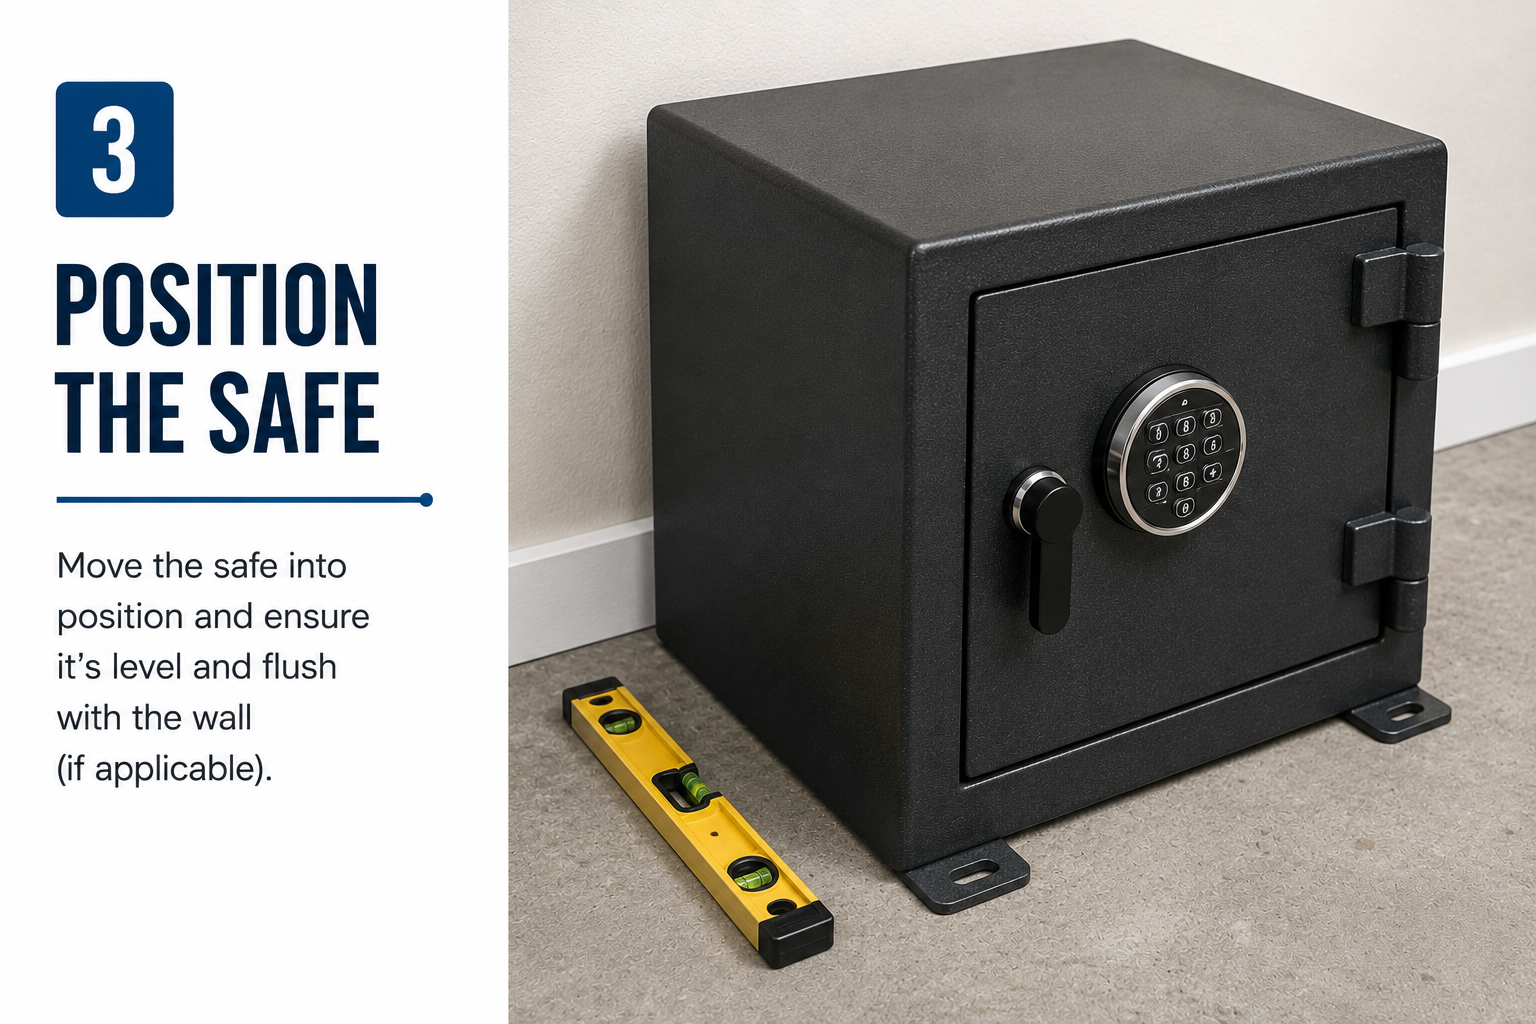
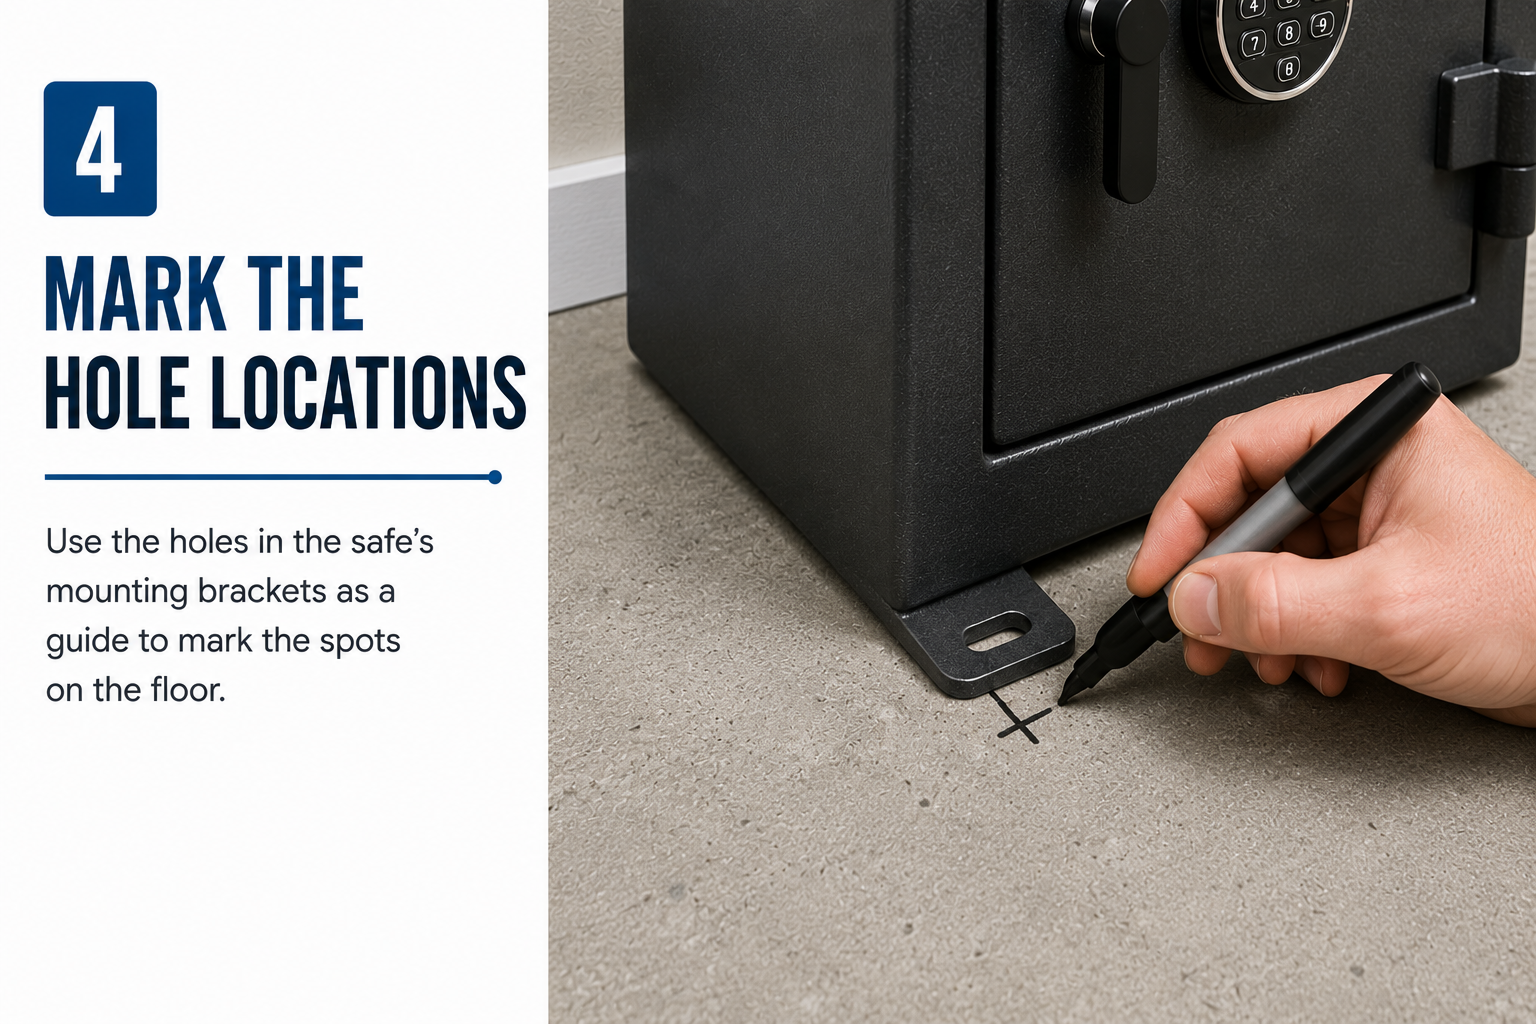
Place the safe exactly where you want it. Open the door, look at the anchor holes, and use a marker or pencil to mark the floor through each hole. A thin rod or a long nail can help you transfer the mark accurately.
Move the safe out of the way. Double-check the marks to measure the distance between them to confirm they match the spacing of the holes in your safe.
Step 4: Drill the Holes in the Wood Floor
For a wood subfloor, use a wood drill bit that matches the diameter of your lag bolts. Drill straight down perpendicular to the floor. Don’t angle the drill.
Go slowly. If you hit resistance, you might be hitting a floor joist — that’s actually ideal. Drilling into a joist gives you much stronger holding power than drilling into just the subfloor material between joists.
Drill the holes about an inch deeper than the length of your bolt shank. Clean out any sawdust.
Step 4 (Alternative): Drill the Holes in Concrete Floors
This is where the hammer drill earns its keep.
Put on safety glasses. Mark your spot with a center punch (or a nail and hammer) to give the bit a starting point so it doesn’t walk across the concrete.
Attach the correct-sized masonry bit. Drill at full hammer-drill speed, letting the tool do the work. Don’t press too hard — you’ll overheat the bit. Let it penetrate at its own pace.
Drill to the depth required by your anchor bolt, and check the anchor’s instructions. It’s usually the length of the anchor plus about a half inch.
Blow out the dust from the hole using compressed air or a vacuum. This step is critical: concrete dust in the hole will prevent the anchor from seating properly and massively reduce holding strength.
Step 4 (Alternative): Drilling Through Tile
Tile is the trickiest surface. Drill bits can slip on glazed tile, and if you go too fast, you’ll crack the tile.
Put a small piece of painter’s tape over your mark. The tape gives the bit something to grip and reduces slipping. Use a tile drill bit to get through the tile slowly, with very light pressure. Once you’re through the tile and into the concrete underneath, switch to your masonry bit and proceed normally.
Step 5: Install the anchors
Wood floors: Insert your lag bolts or carriage bolts down through the anchor holes inside the safe and into the holes in the floor. Use a socket wrench to tighten them. Don’t overtighten on wood you want firm, but if you reef on it too hard, you’ll strip the wood fibers and actually reduce holding strength. Snug and firm is the goal.
Concrete floors: Insert your wedge anchors into the holes. These expand when you tighten the nut; that’s what locks them in place. Thread the nut down onto the anchor, then tighten with a socket wrench. As you tighten, the anchor expands inside the concrete and locks solid. These are extremely strong when installed correctly.
Step 6: Test the installation
Before you close the safe and put your valuables back in, do a firm tug test. Grab the sides of the safe and try to move it in every direction: forward, backward, left, right, and lift. It should feel completely immovable.
If there’s any wobble, the bolts aren’t tight enough or the anchors aren’t seating properly. Recheck each one.
Common Mistakes to Avoid
Using bolts that are too short. The bolt needs to reach well into the material below, at least 2 inches into wood, and the full depth of a concrete anchor. Short bolts have dramatically less holding strength.
Skipping the anchor hole cleaning step on concrete. Dust-filled holes mean anchors that don’t grip. Always clear the holes before inserting anchors.
Placing the safe against a hollow wall section. The floor anchoring is what matters, but don’t assume the wall behind the safe adds security if it’s just drywall.
Bolting through carpet without a hard backing. If your floor is carpeted, you’ll need to cut a small section of carpet over the anchor holes, or the carpet fibers will compress over time and allow the bolts to loosen. A small cut with a utility knife, kept hidden under the safe, solves this.
Forgetting to bolt the safe before filling it. An empty safe is much easier to position and anchor. Fill it after it’s secured.
What if you can’t bolt to the floor?
Some situations make floor bolting difficult or impossible, such as apartment leases, tile you don’t want to drill through, or rented spaces where you can’t make permanent modifications.
You have several good options:
Wall anchoring. Many safes also have holes along the back for wall anchoring. Bolting into wall studs is highly effective. You’ll need to find the studs first (a stud finder costs around $20) and use appropriately sized lag bolts.
Security cables. A heavy-duty security cable looped through an anchor hole and around a structural element, like a floor joist under a floorboard adds serious resistance without permanent drilling. Not as strong as bolts, but far better than nothing.
Weight and concealment. For lighter safes in rental situations, keeping the safe hidden and heavy (fill it with the contents themselves add weight) is a reasonable compromise.
How much does professional installation cost?
If you’d rather have someone do this for you, a handyman can typically anchor a home safe in 30–45 minutes. Expect to pay $50–$100 for labor, plus the cost of any hardware they supply.
A safe dealer or locksmith who installs safes will sometimes offer installation as part of a package deal when you purchase through them.
Frequently Asked Questions
Q: Do all home safes have bolt-down holes?
Most mid-range and high-end home safes include pre-drilled anchor holes. Budget safes sometimes don’t. Check the interior floor of your safe before purchasing or specifically ask the retailer. If your safe didn’t come with holes, the manufacturer may offer a retrofit kit.
Q: Can I bolt a safe to a concrete garage floor?
Yes, in fact, concrete is the ideal anchoring surface. Wedge anchors set in concrete provide exceptional holding strength. Just make sure the garage floor doesn’t experience flooding, and consider a moisture barrier or rubber mat under the safe to prevent the bottom from rusting.
Q: Will bolting my safe void the warranty?
No, bolting a safe down is an intended use; that’s why the anchor holes are there. It will never void a manufacturer’s warranty.
Q: How many bolts do I need?
At a minimum, two bolts. Four is better. Even with two properly installed anchor bolts make a safe extremely difficult to move. If your safe has four anchor points, use all four.
Q: What size anchor bolts should I use?
Most manufacturers specify this in the manual. If yours doesn’t, 3/8 inch diameter lag bolts for wood and 3/8 inch diameter wedge anchors for concrete are standard for most home safes. For very heavy safes (over 200 lbs), go up to 1/2 inch.
Q: Is a bolted safe completely theft-proof?
Nothing is completely theft-proof, but a properly bolted safe eliminates the single most common way safes are stolen being carried out of the home. Combine floor anchoring with a high-quality safe in a concealed location, and you’ve removed almost every practical threat a residential burglar would attempt.
